GENERAL LEDGER - Segmentation
Create up to 4 Segments, using up to 24 characters combined, on your GL Accounts to represent specific profit centers, whereby you can print financial reports for GL Accounts in the selected Segment or group of Segments
- Segments Setup - Edit > Company Settings > General Ledger > Segments tab

-
-
- establish the Separator character you want to divide your Segments from each other
- click
 New to add another Segment
- determine the Length you want to reserve for this Segment
- identify the Name for this Segment
- select the Type
- Codes tab - create a new Code
- select the Segment you wish to create Codes for
- enter the Code and Description for each
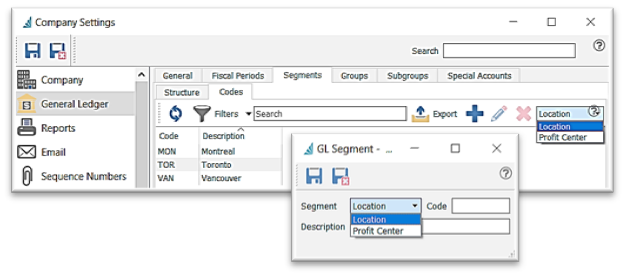
- In this structure example, the GL Account hierarchy would look like this:
- Base Segment will contain all Account numbers
- Location Segment will contain all codes representing Location - ie: MON / TOR / VAN
- Profit Center Segment will contain all codes representing Profit Center - ie: Production / Service
- The GL Chart would look like this, where ‘82400’ is the Base segment, or Account Number:
- 82400/MON/PROD
- 82400/MON/SERV
- 82400/TOR/PROD
- 82400/TOR/SERV
- this structure allows the ability to print Financial reports for just Segment MON or just PROD, with MON and/or TOR, etc., using the GL Account Filters to establish these selections
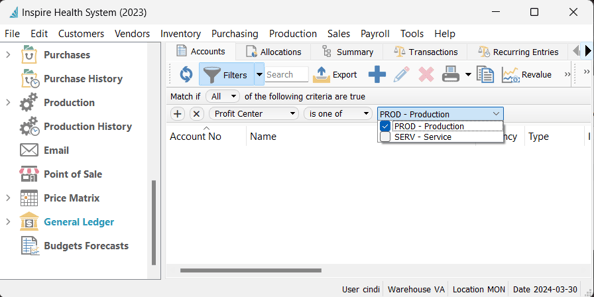
- Location Accounting uses segmentation to automatically append the Sales Department GL Accounts that are used in Sales transactions, to the proper Location
- Setup - Edit > Company Settings > General Ledger > General tab

- choose which GL Segment will represent the Location
- add the GL Account(s) that will be used for this Location (ie:711000/MON)
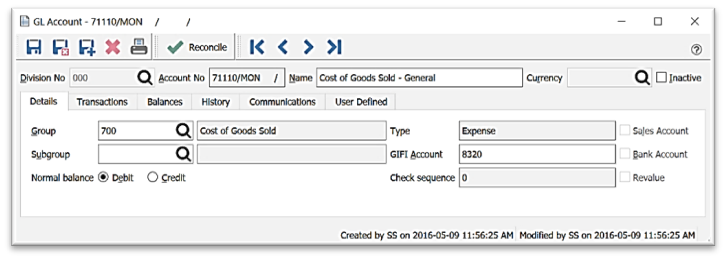
- sign into the desired Location

-
-
-
-
- at Logon
- hit F12 or go to File > Logoff
- hit F10 on your keyboard with all modules closed to change the Location (User Settings permitting)
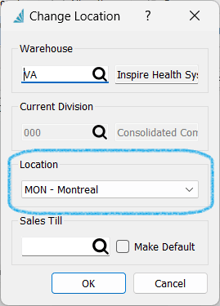
- if desired, Restrict a User to one Location - User in User Settings > General > Restrict Location to

-
-
- Example for Location Accounting
- for GL Location segment MON we will create the GL Accounts needed for Sales (GL accounts 11302,41200 and 71200 already exist, so copy them adding the ‘MON’ segment):
- 11302/MON - Inventory at Cost - Accessories - Montreal
- 41200/MON - Sales - Accessories - Montreal
- 71200/MON - Cost of Goods Sold - Accessories - Montreal
- see Sales Department 1 for Accessories (note, the GL Accounts do not contain the Location Segment ‘MON’)

- login to Location MON
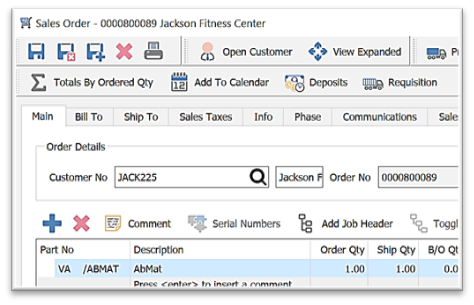
- create a Sales Order for an item with Sales Department 1
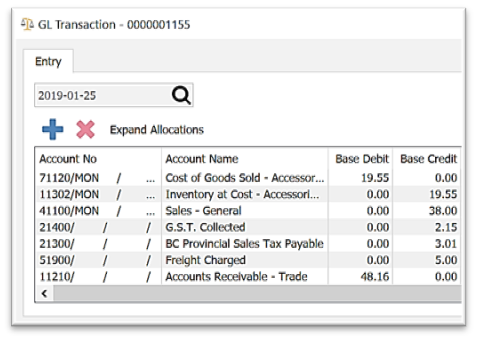
- note the GL Transaction for this sale has automatically allocated the Accounts to Location MON
- Profit Center Segment
- choose which GL Segment (setup in the Segmentation tab) will represent the Profit Center, selectable for Financial reporting
- this segment can be chosen at the time of each General Ledger transaction
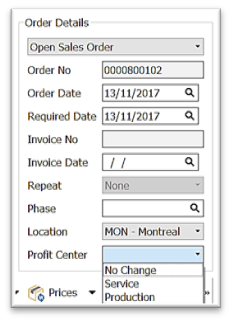
- this segment can be chosen in each Sales Order

 New to add another Segment


.png?height=120&name=Gemini-Logic-Logo%20(1).png)