- Access
-
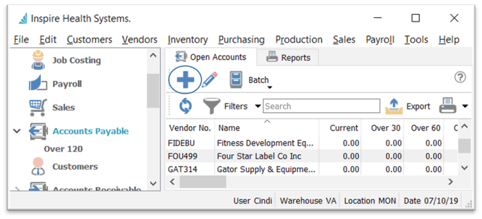
- Accounts Payable List

-
- Accounts Payable Details

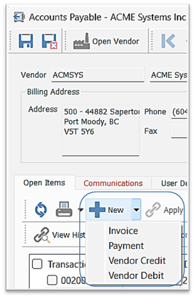
- click
 New
New
-
- select Type from the drop-down list:

-
- choose Vendor
 Existing Vendor allows you to browse for or type in the Vendor
 One Time Vendor will auto-create a new Vendor using the numbering sequence established in Edit > Company Settings > Sequence Numbers > Vendor No (see also Accounts Payable - New Payment) and will post the Invoice and Cheque at once
- enter or select Date
- option to enter a Reference no.
- option to identify a Purchase no.
- system will auto-generate the Transaction no. which cannot be changed
- Terms as established in Vendor Details (see Vendors), or select an alternate Term for this transaction
- accept or change Due date
- accept or change the Expense Account designated in Vendor setup
- option to enter a Memo
- enter Total including taxes and the system will back out the taxes
- Taxes - option to change / delete tax amounts calculated out of the Total - tax settings are established in Vendor > Addresses > Taxes (see Vendors)
- select from
 Post / Post and Review GL (or Alt+s)
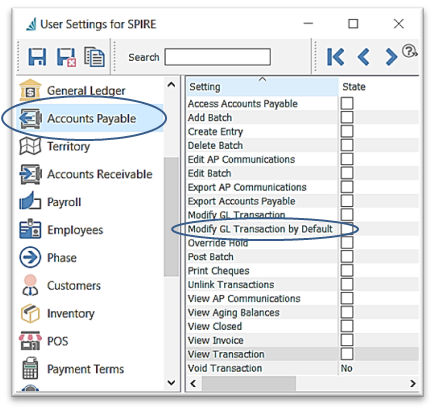
- User Settings for this selection - Edit > User Settings > Accounts Receivable > Modify GL Transaction / Modify Transactions by Default
- choose Vendor

.png?height=120&name=Gemini-Logic-Logo%20(1).png)
