Create a New Company or Add an Existing One
![]()
Access - Tools > Server Administration

- enter the Spire Administrator account Username and Password you created during the installation


- Create New Company
- click on
 Create
- click on
-
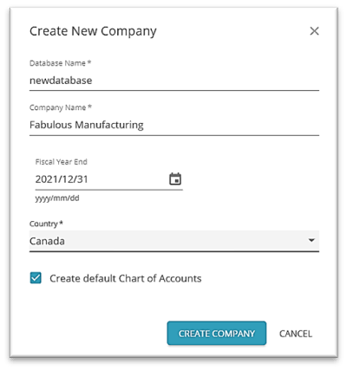
- enter new company details:
-
-
- Database Name
- Company Name
- Fiscal Year End
- Country
-
 Create default Chart of Accounts or uncheck to start with a blank Chart of Accounts to manually create your own
- click Create Company
-
-
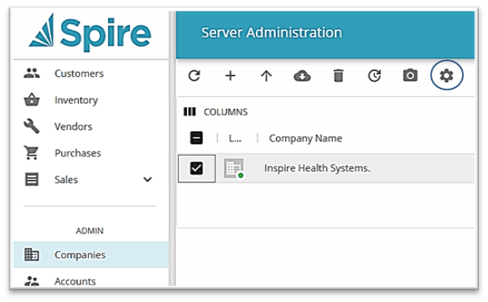
 select the newly created Company in the list to establish
  Settings
-
-
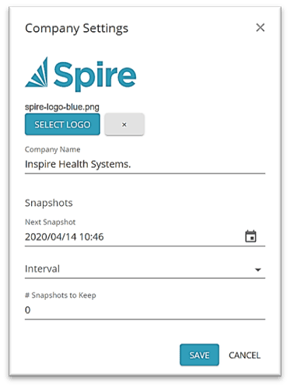
- Select Logo to print on Sales and Purchase forms
- confirm or change Company Name
- set Snapshot (data capture) schedule
-
-
-
- set date / time for Next Snapshot
- set Interval Hourly / Daily / Weekly / Monthly
- set # Snapshots to Keep
- Save
- Enter data
- import or manually enter the new company structure for each module (consult your Spire Partner for assistance with this process)
- User Access
- launch Spire and log into the Company you want to give a User access to
- go to User Settings under Edit and open the User in the User List
- check
 Company Access
-

- Add (Restore) Existing Company either from a Spire snapshot or BusinessVision / Quickbooks data

- open Server Administration under Tools and logon with your Spire Administrator account
-
-
- restore from a previously created Spire snapshot in one of 2 ways (see more restore options - Installation / Setup - Archive):
-
-
-
-
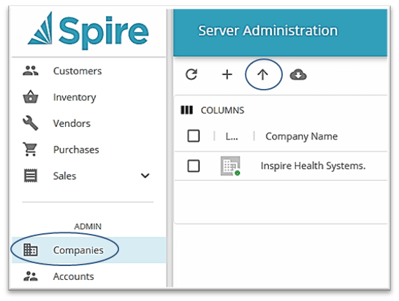
- Option 1 - from the Companies list
-
-
-
-
-
-
- click on
 Restore
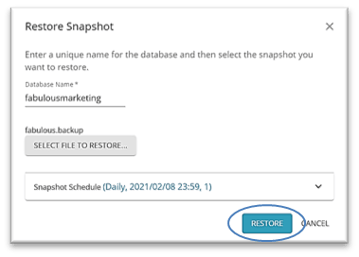
- click on
-
-
-
-
-
-
-
- enter a Database Name
-
-
-
-
-
-
-
- Select File To Restore (ends in .backup)
- click Restore
-
-
-
-
-
-
-
- set User Access - see User Settings
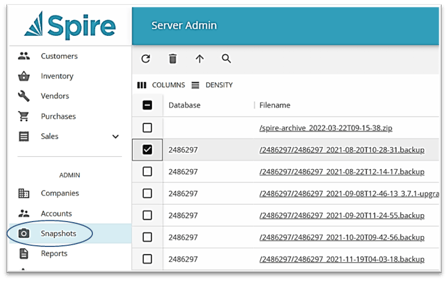
- Option 2 - from the Snapshots list
-
-
-
-
-
-
-
 check the Snapshot you wish to restore from the list
- click
 Restore
 - enter a Database Name
- Click Restore
-
-
-

- from a BusinessVision or Intuit Quickbooks Desktop data set (will create a copy and convert that copy)
-
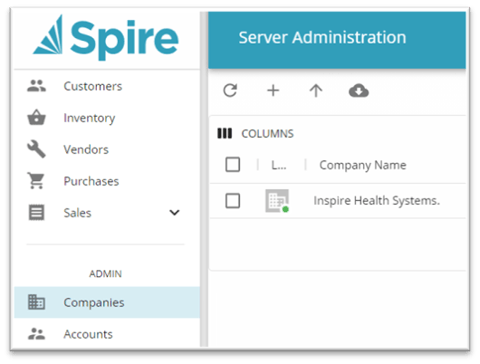
- open Server Administration as described previously
- select Companies in the main menu list
- click
 Import
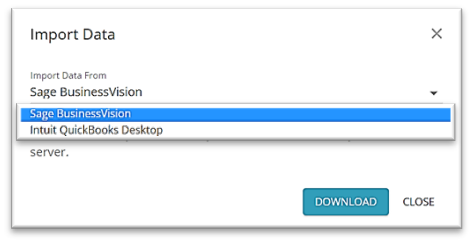
-
- click Download
- save the Spire BVImport or qbimport Utility to your computer (network or local)
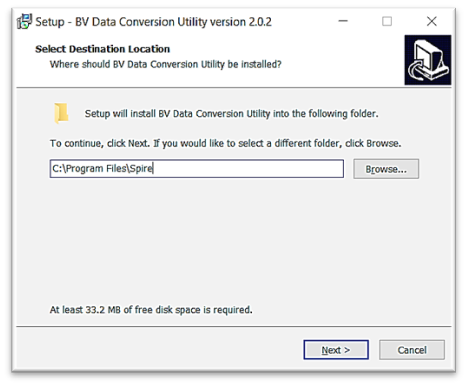
-
- locate the saved installation file and launch it
- accept or change the installation destination folder
- click Next
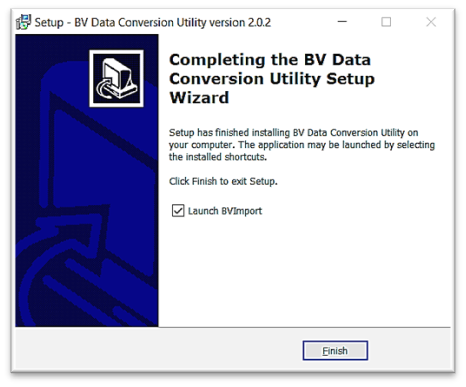
- Install
- Finish installation with option to
 Launch BVImport right away
- locate the saved installation file and launch it
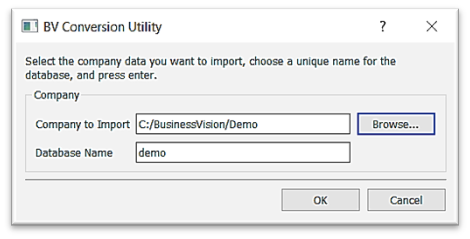
-
- Browse for the bvdata file (BVCON.FIL) / quickbooks data file you want to convert
- enter a Database Name
- click OK
-
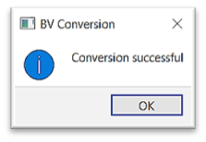
- click OK on the Conversion Successful message
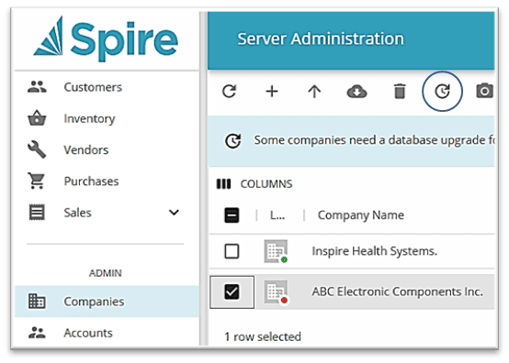
- open Server Administration again, select
 the newly converted Company (notice the red dot)
-
- click on
 Upgrade Selected
 - set User Access
- click on
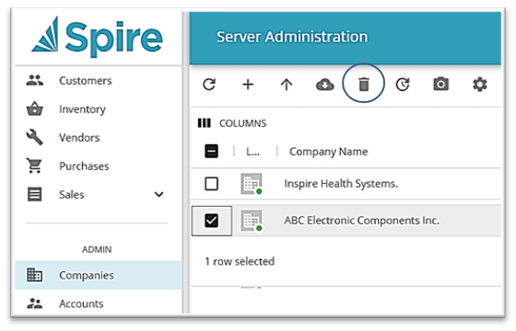
 Delete Company from the list (does not delete, just removes from the Company List)
- open Server Administration under Tools
- select Companies in the main menu list
 select the Company
- click on
 Delete
-
-
- Note: you can re-establish this Company on this Company List at any time through
 Restore
- Note: you can re-establish this Company on this Company List at any time through
-
.png?height=120&name=Gemini-Logic-Logo%20(1).png)