How to build a manufactured Inventory item, account for spoilage and assign Lot / Serial Numbers

Fully Build a Production Order (see also Partial Build below)
- enable User access - Edit > User Settings > Production Orders > Build Production Orders
- click Build in your Production Order List:
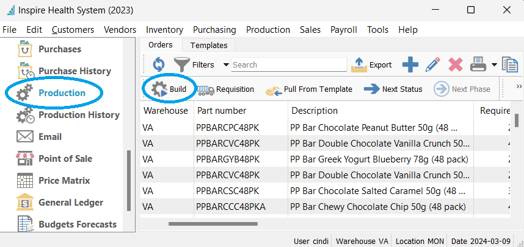
-
- or from inside the Production Order with Build Phase (see Partial Build) option:
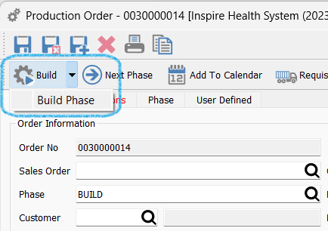
- accept or change information in the Build Production Order box as follows:

- Build Date for date of Receive and General Ledger transactions
- Receive Quantity for quantity of built item going into stock
- Assembled Quantity for quantity of multiplied components that are being consumed for this build (this allows for spillage or breakage for this Production run)
- Unit Cost & Extended Cost will increase if Assembled Quantity is greater than Receive Quantity (this reflects more raw material consumed for this build)
- click Build
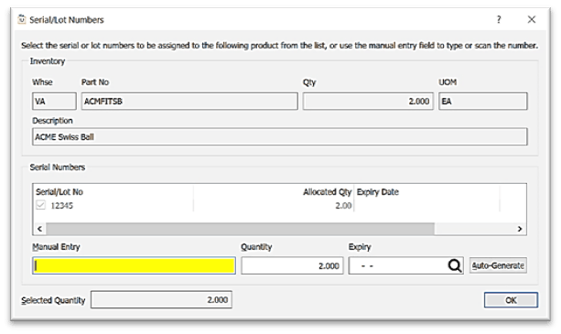
- if the item being built is Serialized or Lot Numbered, the Serial / Lot Numbers allocation box will pop up
-
- Manual Entry - allows to enter each lot / serial number manually
- Quantity for Lot / Serial number entered
- Expiry Date will auto-fill if established in Inventory > General tab > Purchasing section > Default Expiry Days field and calculates days from the system date
- Auto-Generate will complete lot / serial number allocation based on the first lot / serial number assigned
- click OK to complete build
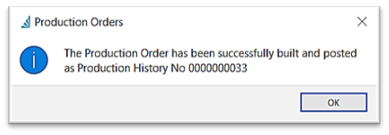
- click Ok on the Production History Number notification
-
- likewise, if a component being consumed is serialized or Lot Numbered, the Serial / Lot Numbers allocation box will pop up for each (see Serial / Lot numbering setup in Inventory)
- option to print / preview / email report(s) generated from this / these build(s)
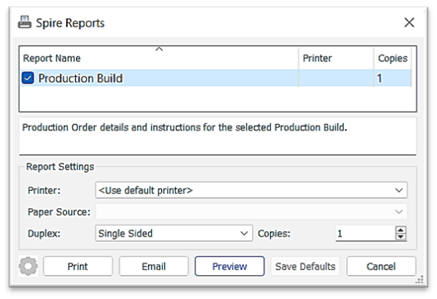
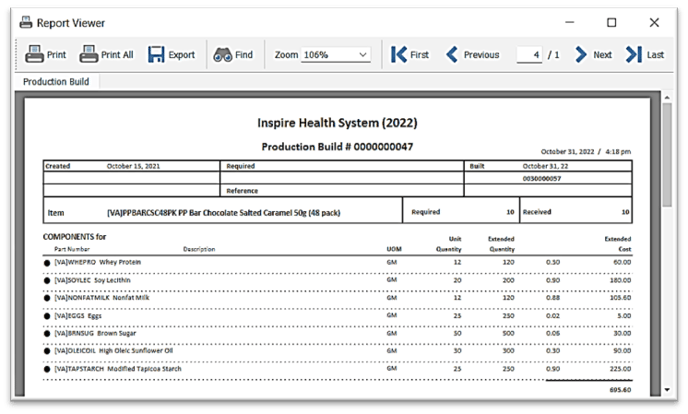
- view the build in Production History

Partial Build a Production Order
- use this function to assemble a sub-assembly or to remove any of the components in the Production Order from inventory to hold in an assigned WIP GL account until the Production Order is fully built
- set your WIP GL Account in Edit > Company Settings > Production Orders - Default WIP Account:

-
- create a Phase structure (see Production Order Phases)
- assign any phase in your line grid (in this example, we are building a sub-assembly) then assign any phase in the header
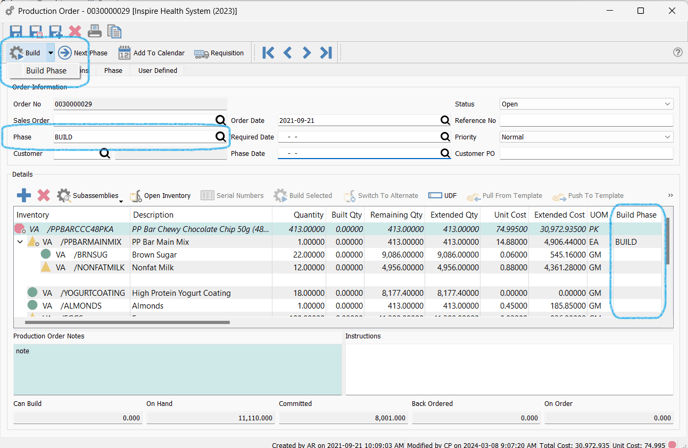
-
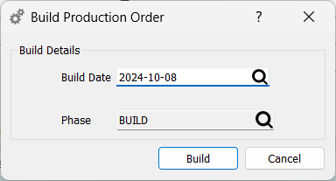
- click on the Build drop menu and select Build Phase:
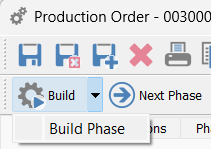
-
- set the Build Date
-
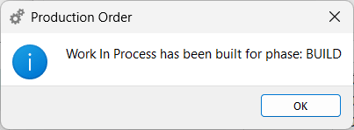
- click OK on Build completion:
-
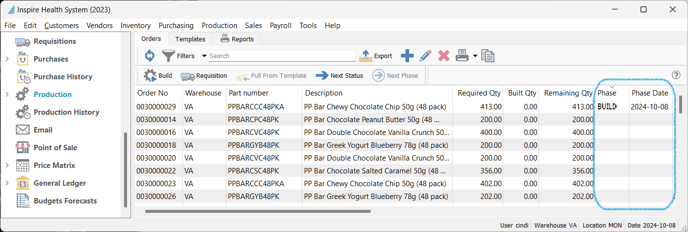
- note the following:
- Build reference in your Production Order List:
- note the following:
-
-
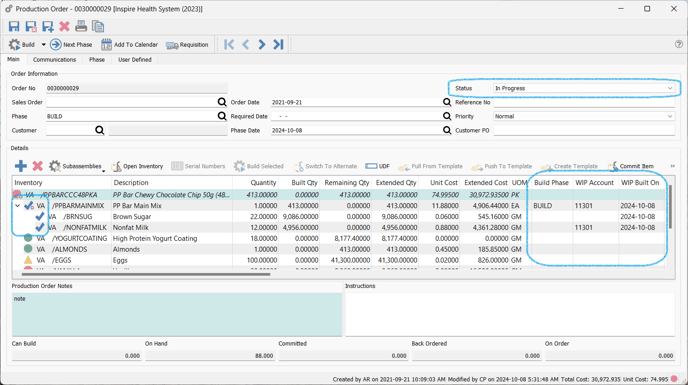
- inside the Production Order the Built items are marked with a
 and locked
 - status has changed to In Progress
- if Edit > User Setting > Production Orders - Automatically Commit is on, all other components will have been Committed
- WIP Account and WIP Built On date are displayed (these can be changed prior to clicking Build Phase):
- inside the Production Order the Built items are marked with a
-
- note the available reports for the WIP function:

.png?height=120&name=Gemini-Logic-Logo%20(1).png)